4.5.1、Head插件的安装
1、配置Node环境
2、下载Head插件源码
3、修改 Elasticsearch 配置文件
4、修改 Head 插件配置文件
5、启动 Head 插件
4.5.2、Head插件的使用
1、概览界面
2、索引查看界面
3、数据浏览界面
4、基本查询选项卡
5、复合查询
-——————————————–
4.5.1、Head插件的安装
1、配置Node环境
官网:https://nodejs.org/en/download/
wget https://nodejs.org/dist/v10.15.3/node-v10.15.3-linux-x64.tar.xz
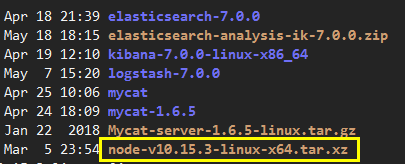
xz -d node-v10.15.3-linux-x64.tar.xz
tar -xf node-v10.15.3-linux-x64.tar
设置环境变量
vi /etc/profile
添加:
1 | export NODE_HOME=/data/carloz/tools/node-v10.15.3-linux-x64/ |
source /etc/profile

使用npm安装 Grunt:
npm install -g grunt-cli

2、下载Head插件源码
https://github.com/mobz/elasticsearch-head/releases
wget https://github.com/mobz/elasticsearch-head/archive/v5.0.0.tar.gz
mv v5.0.0.tar.gz elasticsearch-head-v5.0.0.tar.gz
tar -zxf elasticsearch-head-v5.0.0.tar.gz
cd elasticsearch-head-5.0.0/
npm install -g cnpm –registry=https://registry.npm.taobao.org

3、修改 Elasticsearch 配置文件
su elsearch
vi elasticsearch-7.0.0/config/elasticsearch.yml
添加:
1 | http.cors.enabled: true |

重启 elasticsearch
exit —— 切换到 root
4、修改 Head 插件配置文件
vi elasticsearch-head-5.0.0/Gruntfile.js
修改connect, 指定 Elasticsearch-head 的访问ip:
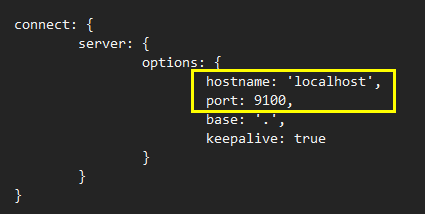
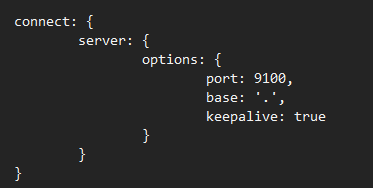
不指定的话,所有ip都能访问他
5、启动 Head 插件
cd elasticsearch-head-5.0.0/
grunt server


4.5.2、Head插件的使用
1、概览界面

试着去连接 Elasticsearch服务器,但是,我们的 Elasticsearch 服务器只允许本机连,要修改配置

su elsearch
vi /data/carloz/tools/elasticsearch-7.0.0/config/elasticsearch.yml
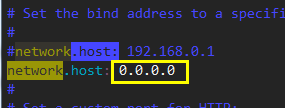

错误参考:https://blog.csdn.net/zhou_p/article/details/80311972
“the default discovery settings are unsuitable for production use; at least one of [discovery.seed_hosts, discovery.seed_providers, cluster.initial_master_nodes] must be configured”
-———————————————-
vi /data/carloz/tools/elasticsearch-7.0.0/config/elasticsearch.yml
修改:
bootstrap.memory_lock: false
添加:
bootstrap.system_call_filter: false

cluster.initial_master_nodes: [“node-1”]
-———————————————
vi /etc/sysctl.conf
vm.max_map_count=655360
sysctl -p
-———————————————
vi /etc/security/limits.d/90-nproc.conf
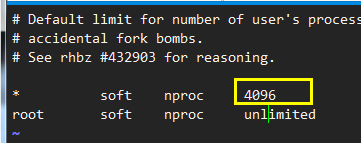
-———————————————–
http://10.10.139.42:9200/ 点击连接

2、索引查看界面

3、数据浏览界面

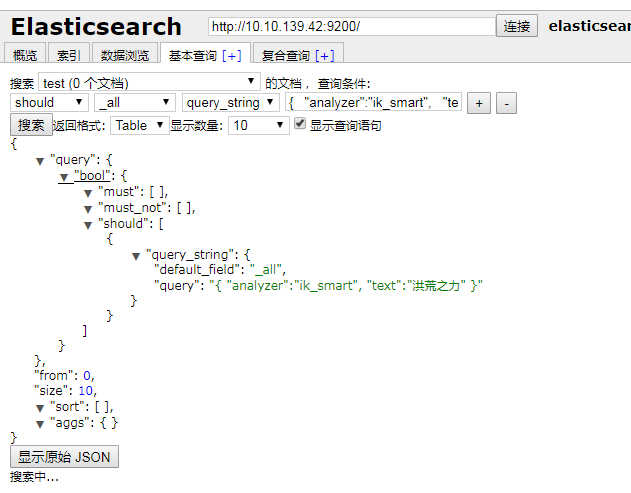
4、基本查询选项卡
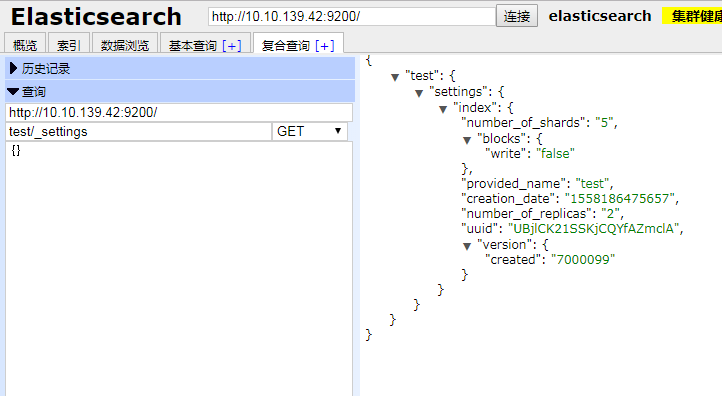
5、复合查询
